Tuesday, 23 July 2013

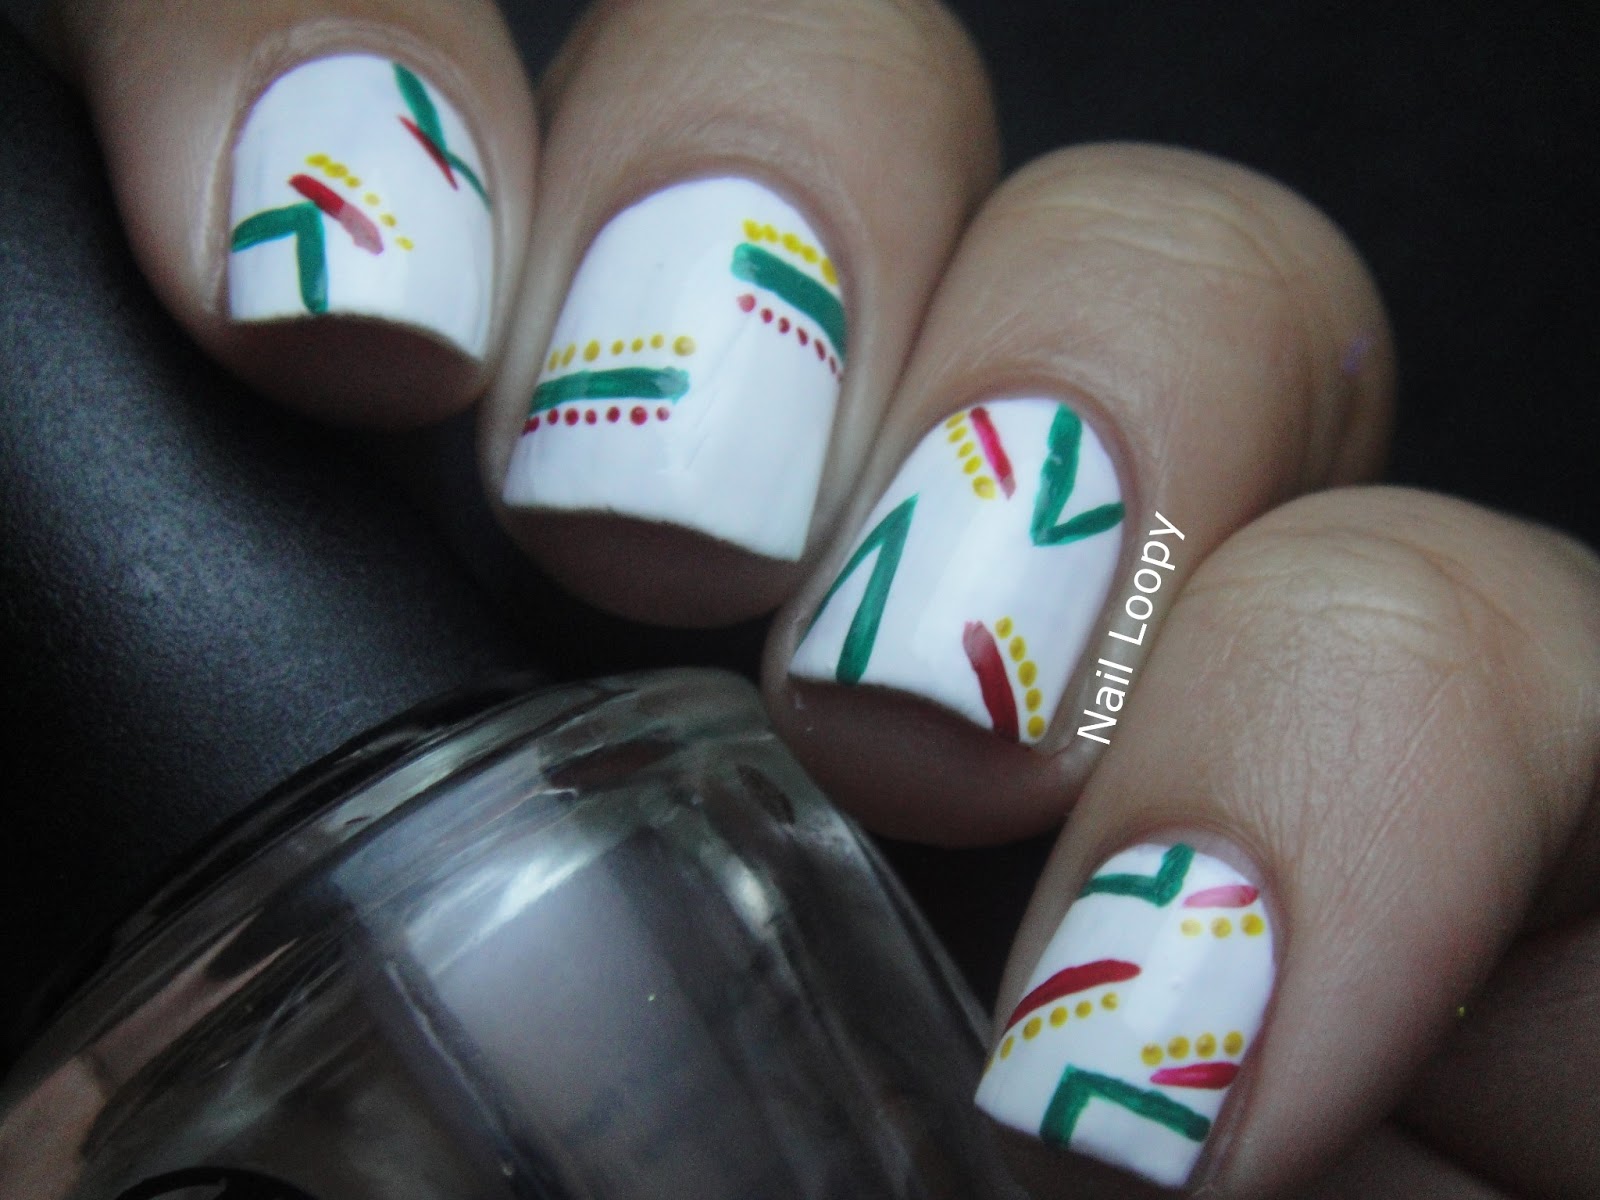
SOME RANDOM DOODLING WITH ACRYLIC PAINT

I recently bought a new set of acrylic paints and I was really looking forward to trying out the colours, so I started off with two coats of Sally Hansen Whirlwind White and then used burgundy, forest green and mustard acrylic paints and a fine nail art brush to draw on these random patterns. 
I wasn't going to post this but often I find manis I don't really like some of you guys do so I thought hey I'll post it, it might inspire somebody :)


Pin It

Monday, 22 July 2013

SPONGED PASTEL RAINBOW NAILS !

So the last time I watched The Rise of The Planet of The Apes, the image of Ceasers window stuck in my head and so when I sat down to do my nails I ended up with this. 
I started off with one coat of w7 White and then I sponged on Butter London Jasper, Kiko 340 and a pink, purple and a green Color Club. I then used white acrylic paint to draw on the rest of the detail before topcoating it all.


Pin It

Sunday, 21 July 2013

CRISS CROSS GRADIENT TAPE NAILS

I hope you guys all enjoyed your weekend, these past 4 days for me have been crazy ! 
Anyway quite a few months ago I saw a gorgeous mani on Instagram by Nailing Around, where over a nude colour she used tape to make a criss cross effect with striping tape and sponged over a blue, purple and green gradient, which is exactly what I did here ! 
Mine didn't turn out anywhere as amazing as hers did but it still looks ok !

I used China Glaze Sydney Sand as my nude colour and then used 3 Color Club polishes for the gradient. 


I'm still very much a novice when it comes to tape manis so don't judge too harshly! 
I hope you all have a nice start to the week tomorrow :) 


Pin It

Friday, 19 July 2013

MINT MANIS FOR TALIA JOY

 Today I have a special mani for a very special little girl. On Wednesday Nicole at Nail Polish Wars asked the nail community to join her in honoring Talia Joy Castellano, you can see the post here, so I did this mani. 

I started off with three coats of Essence That's What I Mint and then painted on a single flower on my middle finger using the one stroke technique. It's simple but I think it's effective if you know what I mean.


So that's all I want to say in this post, I just pray for Talia and her family. 

Check out everyone else's mint manis here:

Pin It

Thursday, 18 July 2013

DIY TEXTURED NAILS TUTORIAL

Hi guys, I know quite a few of you were looking forward to this tutorial but today has been really busy and I'm really tired. 
Anywho this is a really simple tutorial but it creates a great result. 

What you will need:
Base Coat 
A fine, gritty, topcoat hungry glitter. I'm using China Glaze Angel Wings
Acrylic paint of your choice. It should be pigmented and quite thin, (if yours is thick then thin it down with some water) 
A brush to paint on your acrylic paint, it needs to cover the whole nail so you don't want one which is too fine.


STEP 1 - Apply your gritty glitter and allow it to fully dry. 


STEP 2 - Using your brush paint cover the glitter with one thin coat of acrylic paint 

Do not topcoat! This will lessen the textured effect. 
So this mani probably isn't the best in terms of longevity, as acrylic paint can wear away quite easily without topcoat. 
If you have a thin, watery topcoat then you can apply that because it won't make a big difference to the overall effect. 

That's all folks, do give this a try and let me know how you got on 


Pin It

Wednesday, 17 July 2013

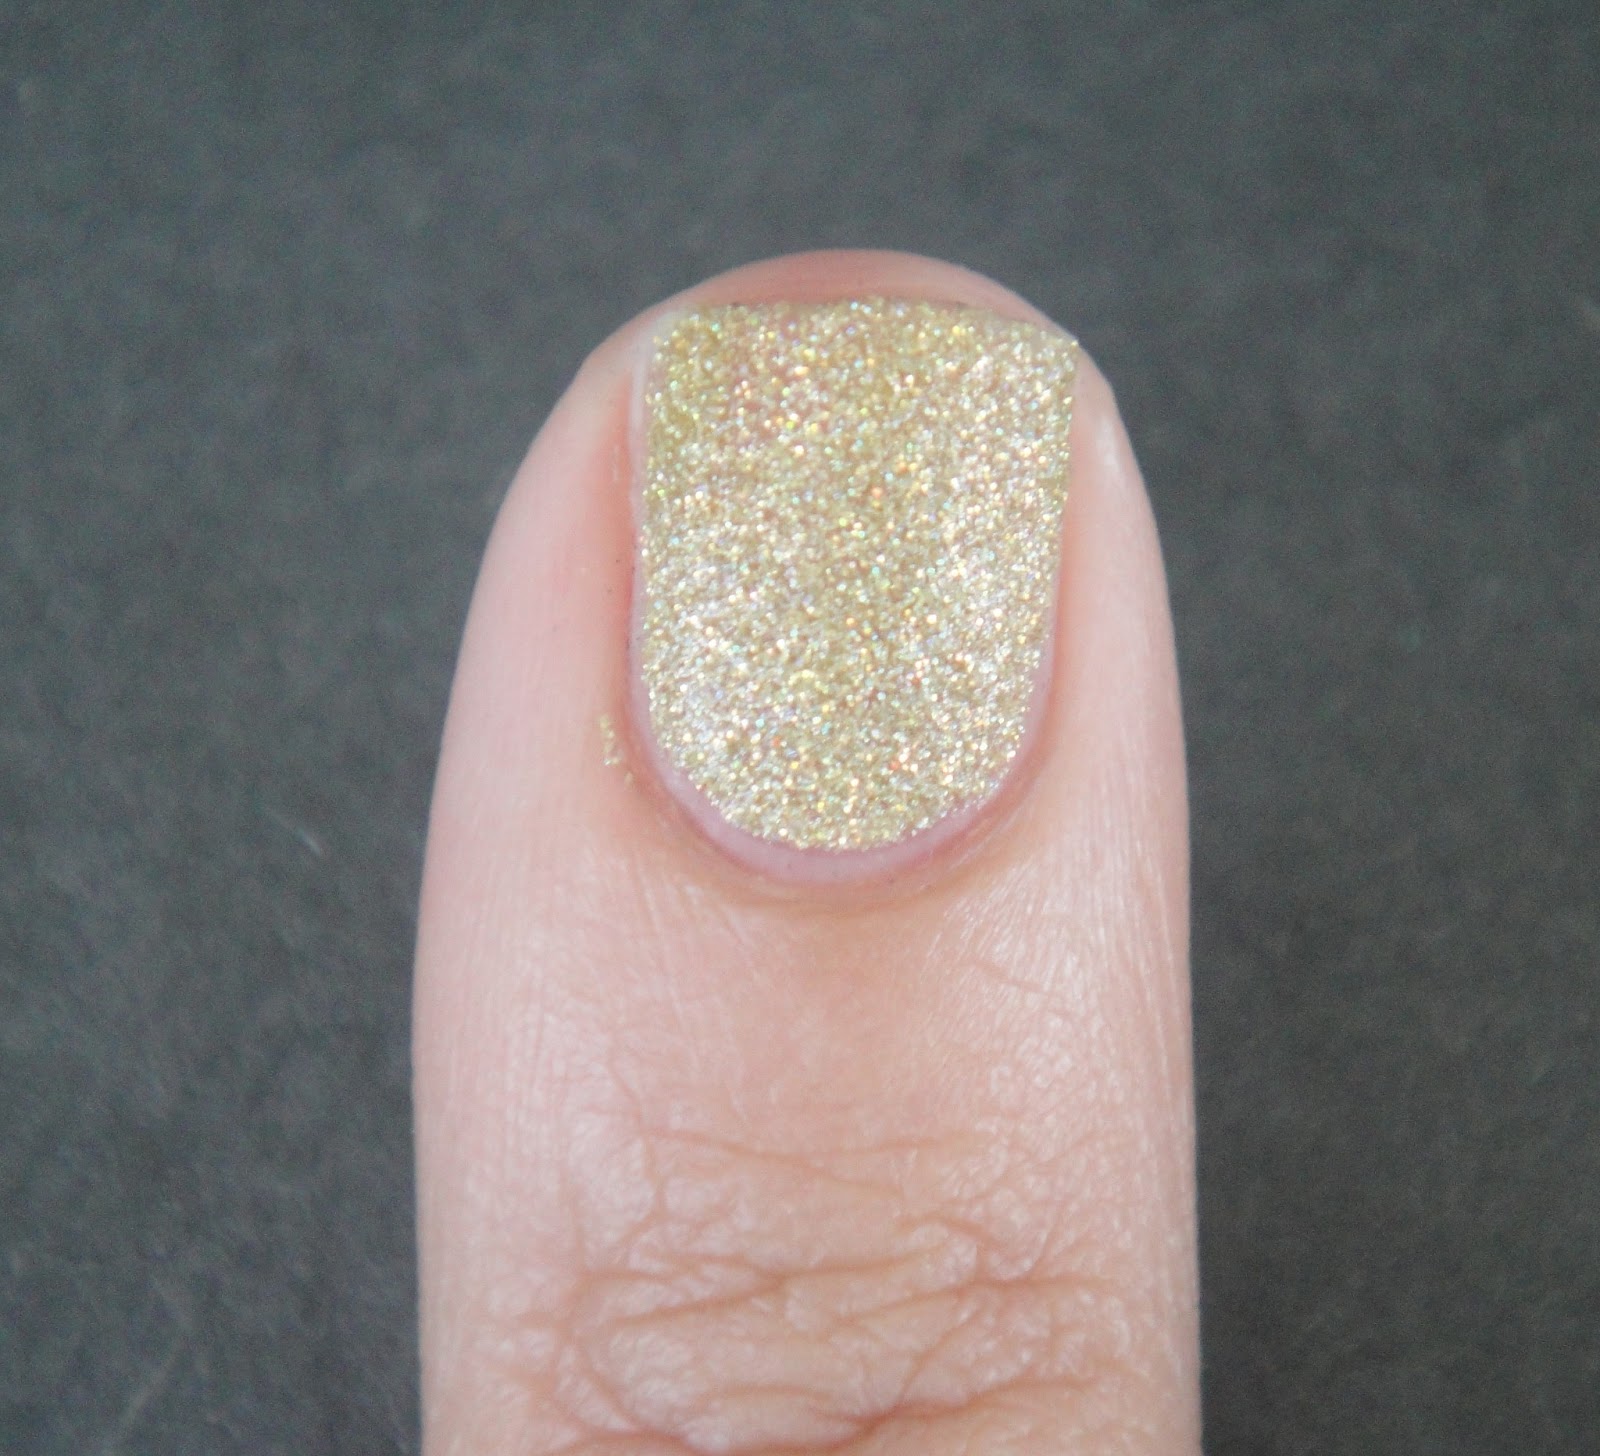
DIY TEXTURED NAILS

Texture is all the rage right now and to be honest I'm not feeling it, I've tried it and it's just not for me, it makes me cringe! However I know lots and lots of people love it so I did a little experiment the other day and the result was quite good so I thought I'd share it with your all. 
I only own 2 textured polishes both of which are from the OPI Bond Girls collection, so I thought I'd try to create a similar result before purchasing a full bottle. I am honestly pleased with the outcome, I wore this for a day and everybody thought it was a textured polish. 


Do you like the outcome? 
Check back tomorrow for a full tutorial on how to recreate this effect yourself at home using products you will probably already have in the house! 


Pin It

Tuesday, 16 July 2013

ONE STROKE FLOWER NAILS

So I've chopped off my long nails and now I'm left with nubs which feels quite liberating really ! Lol, of course though as soon as I cut off my nails I am overcome with loads of nail art ideas ! Anyway I wanted to try out more one stroke nail art and I ended up with this ! 
I used 2 coats of Butter London Artful Dodger and then blue and white acrylic paint, they didn't turn out very well to be honest but I kinda like how they look and my dad was sat here while I was editing these pictures and thought I'd used a sticker lol! 


I think the middle and ring fingers turned out the best but I will definitely be trying these flowers out again soon and hopefully they'll turn out a bit better ! Have you guys tried the one stroke technique ?

Pin It